Year 2 (2021)
The Pergola
Normal Improvements Year 1 (2011)
The Wall Part 1
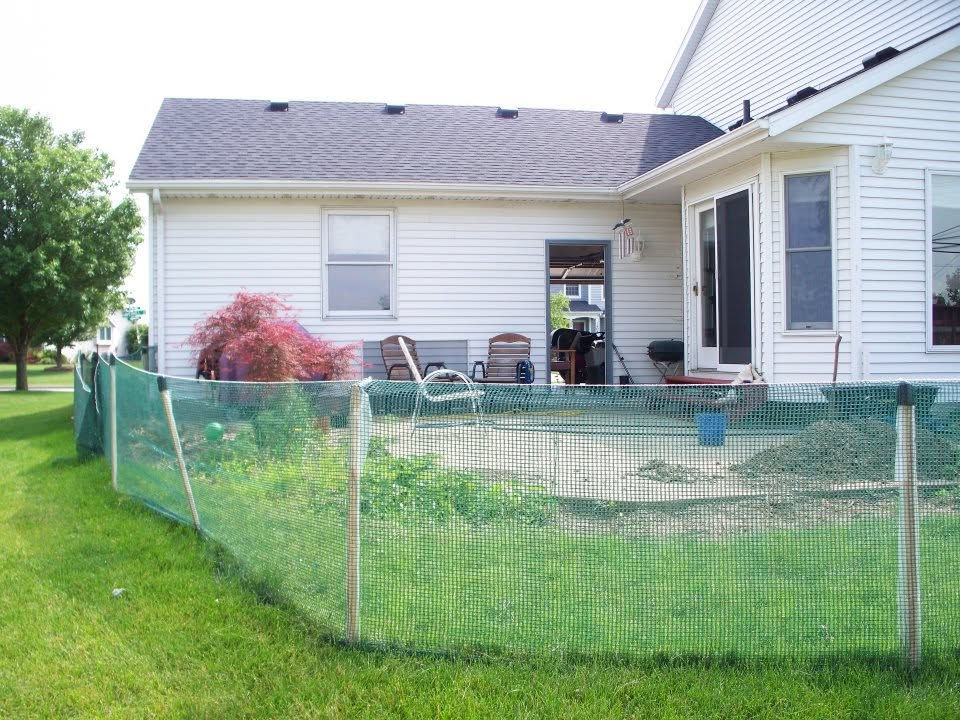
Before construction began, we had put up a temporary fence to keep the dogs corralled. We also planted a few vegetables and a Japanese Maple tree.
The Wall Part 1
We wanted it higher, but three feet is the maximum safe height for a sitting wall, which is what we had to have in order to get around the homeowner association's rules about barriers. They started digging the 3ft deep trench, then filled it with gravel from a pile that they dumped in the driveway.


For Part 1, they were only contracted to build half of the wall. They were to go to the entrance, build the connecting post and a couple feet of wall beyond the entrance.
The Wall Part 1
The Wall Part 1
The work started on the East side.
Looking good so far!

The Wall Part 1
For the wall, this was as far as they would go for this year.

The Wall Part 1
After the wall was finished, they built the two rectangular garden beds that we had asked for, instead of just more wall.

The Wall Part 1
Next came the half circle gardens, or 180s as I called them.

The Wall Part 1
Our poor little bonsai was finally replanted. The contractor then compacted the ground between the existing patio and wall, in preparation to pour the concrete.

The Wall Part 1
After building the second 180, they poured in the exposed aggregate that filled in the gap between the existing patio and the wall in one day. But the cement mixer truck had to be parked alongside the house in the grass and destroyed our grass by creating ruts.

The Wall Part 1
The final piece for them was to build the steps going into the sliding door in the kitchen.

The Wall Part 1

Here's the steps at night with the lights.
The Wall Part 1

And the wall lighting.
The Wall Part 1

Here is what it looks like a year later!
The Torii Gate
I had decided while the wall was being built, to build a pergola of some type to mark the space between the patio that was now finished, and the garden area, which we would build over the next 4 years.
I sketched out a design on a napkin, then Marie turned it into a drawing in Google Sketch.
It would be assembled using pegs instead of screws, so it could be easily taken down, if needed.

The Torii Gate
I bought the materials and began to cut the outer posts.

The Torii Gate
I used a hole saw blade to drill 1" holes in the 4x4 posts, then cut the slots out with my jigsaw, while Balto ensures I'm being safe.

I placed the outer posts in the flower gardens, then added in the top ladder piece, then the lower bar. I then placed the first inner post and added the connector and plugs. You can see I used treated lumber, since the four posts would be in the ground.

The Torii Gate
The main gate is now built and installed against a beautiful sunset.

The Torii Gate
I built the first half of the dog gate and installed it. But Marie didn't like it, so I removed it and didn't build the second half.

The Torii Gate
I waited a full year before painting it so the wood would dry. You can see that many of the gardens in Part 2 were already built by then.
Sidebar: we drove by the house a couple years after selling it and the new owners had removed this and the other gate that I would build.

The Torii Gate
The Back Deck
The plan called for removing the back deck and adding a circular waterfall, along with several gardens. So for the last project for 2010, we started to tear it out.

This deck was built with nails, and I had a very difficult time removing them. So instead, I cut the deck in sections, pulled the boards up through the nails.

The Back Deck
The Back Deck
After removing large sections of the deck, I then began cutting out the support framing. The posts that went into the ground were 8x8 posts, buried about 3 feet, so I had an extremely tough time getting those out.
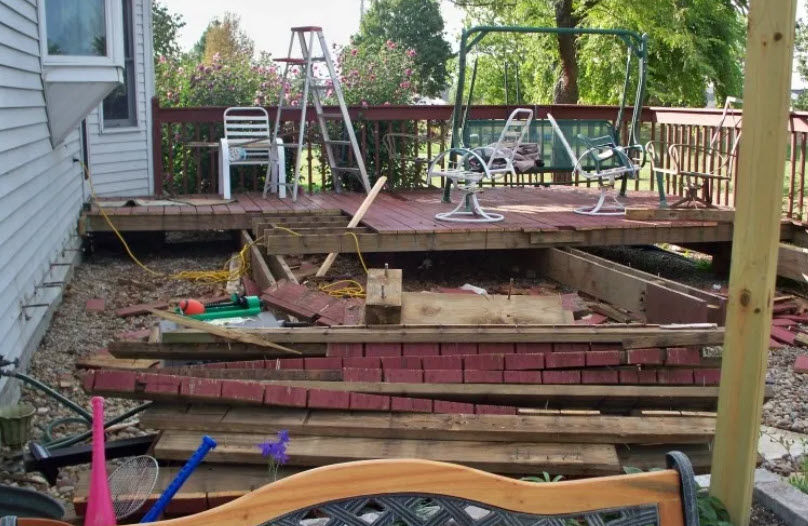
But I persisted, and eventually cleared out the ground area. Here you can see I made a small indent to mark where I thought the waterfall and stream would go.

The Back Deck
But before I could quit, I had to build the stairs that led to the back door. I bought the material and quickly built the steps.

The Back Deck